REVIEW · NAPIER
Shore Excursion: 4 Hour Premium Hawke’s Bay, Napier Art deco Tour
Book on Viator →Operated by Hawkes Bay Scenic Tours · Bookable on Viator
Art Deco streets, mountain views, and a honey stop in one loop. In four hours, you’ll get a strong Napier and Hastings overview, built around the stories behind Art Deco and the rebuild of Napier after the quake. I also like the practical touches, like bottled water and a route that works well on limited shore time—though you should be ready for some driving time and tight timing around cruise logistics.
You’ll start in Napier, spend focused time taking photos in town, then head up to Te Mata Peak for a 360-degree view over Hawke’s Bay. Along the way you’ll stop at Arataki Honey Visitor Centre and Bluff Hill Lookout, then continue through orchards and vineyards toward Hastings. The biggest drawback to watch for: meeting-point confusion can happen with cruise shuttles, so it helps to double-check where you’re supposed to be dropped off.
This is also a small-group tour (max 22) that’s priced for value. At $86.88 per person, you’re paying for transport, guide time, and multiple paid stops that are either included or free, not just a quick drive-by. If you’re the type who wants long stays at wineries or lots of walking, this isn’t that kind of day—but for a first look at Hawke’s Bay, it’s a solid match.
In This Review
- Key things to know before you go
- A tight shore-day plan that actually feels like a tour
- Getting your bearings: Art Deco Napier and the quake story
- Arataki Honey Visitor Centre: a sweet reset in the middle
- Bluff Hill Lookout: city views and a cruise-ship spotting moment
- Te Mata Peak: the big payoff for the whole Hawke’s Bay drive
- Tukituki River drive and the Hastings shift to orchards and vineyards
- Guides and group size: small-group feel, mini-bus seating
- Price and value: what $86.88 buys you in Hawke’s Bay
- Logistics you should handle in advance (so your day doesn’t wobble)
- Should you book this Napier and Hastings Art Deco shore tour?
- FAQ
- How long is the Hawke’s Bay, Napier Art Deco Tour?
- What is the price per person?
- What stops are included on the tour?
- Is pickup offered?
- Where is the meeting point?
- How large is the group?
- Is bottled water included?
- Is there a mobile ticket?
- Do I need to buy admission tickets for the stops?
- Is the tour dependent on weather?
- Is it suitable for single travelers?
Key things to know before you go
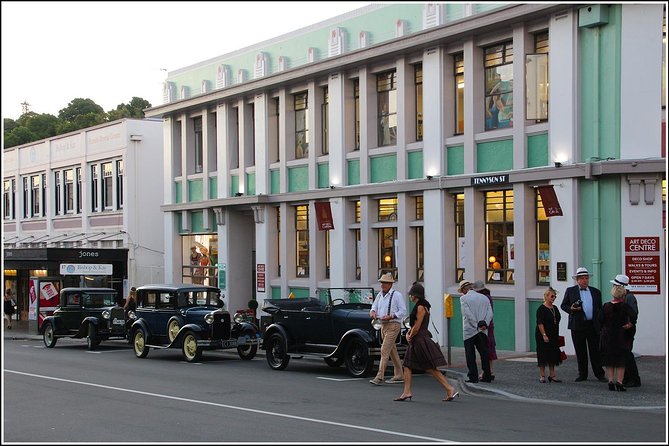
- Art Deco Napier with photo time and quake rebuild context, not just a drive-through.
- Te Mata Peak up 400m and a true 360-degree viewpoint over Hawke’s Bay.
- Arataki Honey Visitor Centre stop, with time to taste and buy New Zealand honey.
- Bluff Hill Lookout with Napier city views and a chance to spot your cruise ship.
- Hastings orchard and vineyard drive focused on the fruit industry, not hard-selling tastings.
- Small-group feel with a max of 22 passengers, using a mini-bus setup.
A tight shore-day plan that actually feels like a tour
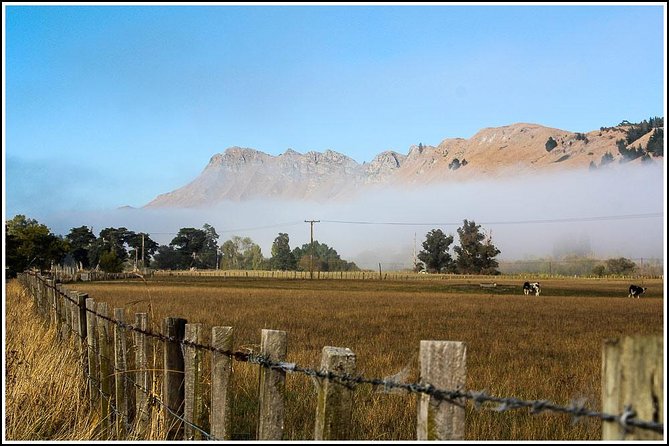
Napier and Hastings are spread out, and Hawke’s Bay is best understood with a bit of road time. This half-day schedule is built for cruise passengers and short stays, so you spend your energy on the big picture: city identity, viewpoint moments, then countryside agriculture.
You’re looking at about four hours total, and the stops are spaced so you’re not stuck on the bus the whole time. I like that the day includes both viewpoints and a couple of hands-on breaks (like honey), so it doesn’t feel like you’re just sitting there watching scenery roll by.
One practical tip: plan for some waiting and turning time. Napier’s traffic and cruise patterns can shift by day, and the tour timing is designed to fit ship arrivals, not to make endless detours.
You can also read our reviews of more tours and experiences in Napier.

Getting your bearings: Art Deco Napier and the quake story
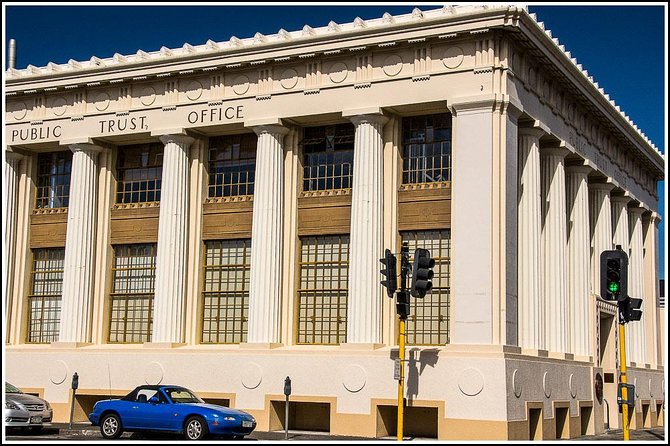
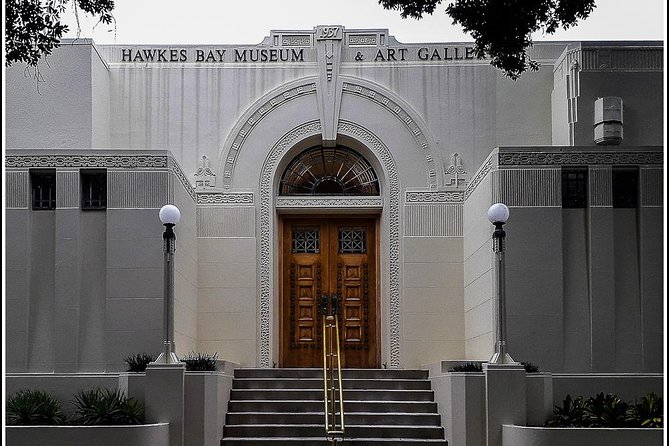
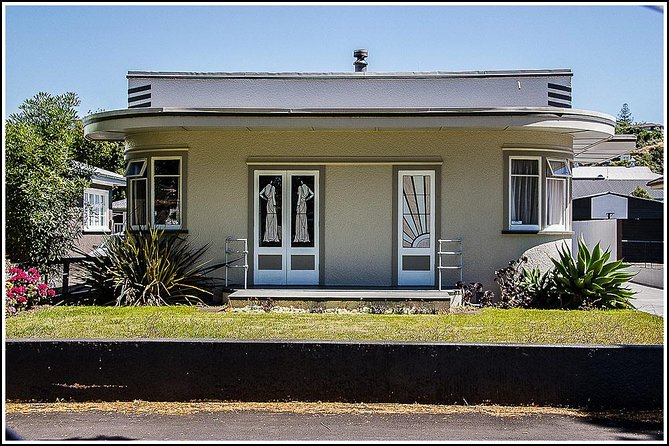
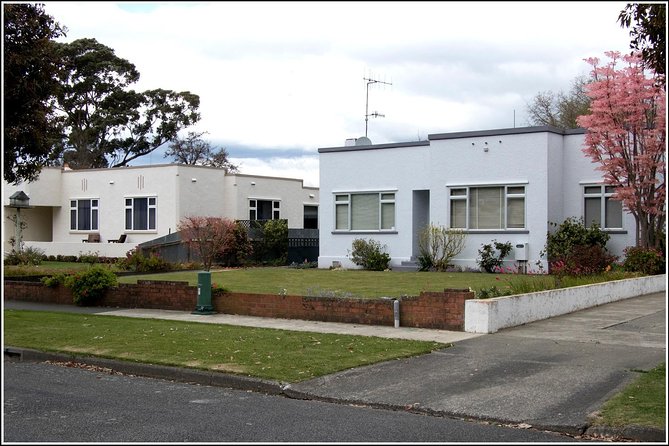
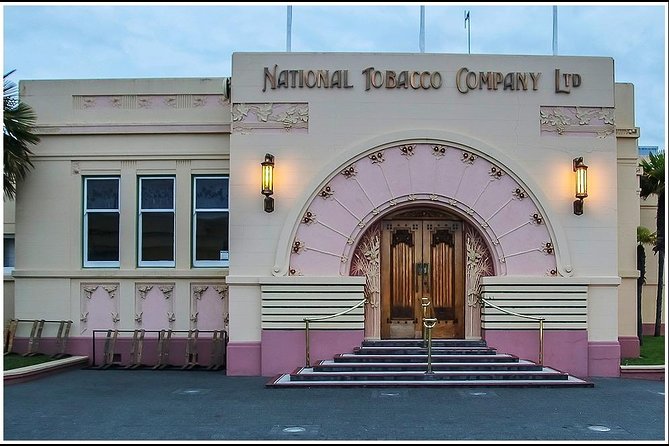
You start by driving around Napier city, focusing on its status as an Art Deco capital. You get roughly 40 minutes here, with your guide making sure you have time for photos—this is the part of the day that rewards you if you like architecture and street-level details.
What makes this stop worthwhile is the storytelling angle. Napier’s Art Deco look is tied to the town’s rebuilding after the earthquake, and your guide’s job is to explain how that history shaped what you see today. If you’ve ever wondered why Art Deco looks so intentional in one place and random in another, this is the kind of context that helps it click.
The drawback? Art Deco fans tend to want more time on foot. Here, it’s mostly a guided driving route with photo pull-offs, so you’ll get a taste, not a full architecture walking tour.
Arataki Honey Visitor Centre: a sweet reset in the middle
Next you head to Arataki Honey Visitor Centre for about 30 minutes, and this is one of the stops that keeps the tour from feeling purely scenic. You’ll visit the honey farm area, and you’ll have a chance to buy New Zealand honey.
In the best moments of this tour, the guide treats honey like a mini lesson. Some guides bring honey for tasting and talk about facts like how kiwi plants are cultivated—small connections that turn a simple stop into something memorable.
This part of the day works especially well if you’re traveling with people who don’t want to be on lookouts nonstop. It’s a change of pace, indoors or shaded depending on where you stand, and it gives you something tangible to take home besides photos.
If you care about souvenirs, do this stop with a bit of space in your luggage. Honey makes a great gift, but it also takes up room.
Bluff Hill Lookout: city views and a cruise-ship spotting moment
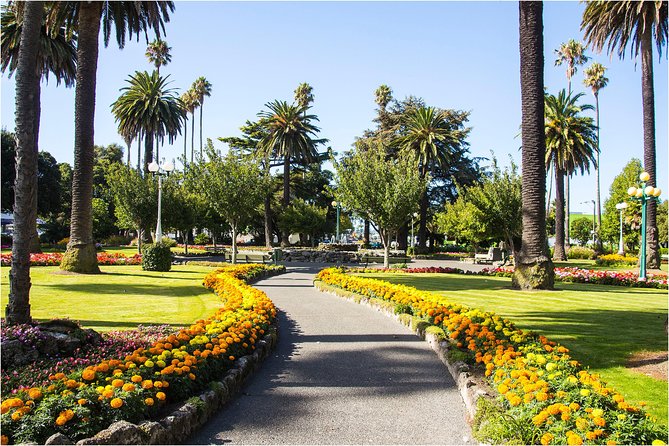
After honey, you go to Bluff Hill Lookout for around 30 minutes. This is a classic Hawke’s Bay viewpoint stop: you get sweeping views over Napier city, and it’s one of the easiest places to orient yourself after you’ve been driving around town.
There’s also a fun, practical bonus—your guide can help you locate your cruise ship from the hill. That kind of visual anchor is surprisingly helpful on a day when you’re moving quickly and trying to remember where everything sits.
A consideration: lookouts are weather-dependent. Clear skies make Bluff Hill shine, and windy or rainy weather can limit how long you’ll want to stand outside. If the sky looks iffy, bring a light layer so you’re comfortable at the viewpoint.
Te Mata Peak: the big payoff for the whole Hawke’s Bay drive
Then comes the centerpiece: Te Mata Peak. You’ll spend about an hour here, and it’s a serious elevation jump—about 400m higher from the ground—so the views are the whole point.
This stop is described as a 360-degree viewpoint over Hawke’s Bay, and it’s exactly the kind of payoff that makes a short shore tour feel worth it. You’ll see how Napier and Hastings relate to the coast, the river valleys, and the wider countryside. Even if you only do the main viewpoint areas, you’ll come away with a mental map of the region.
One smart way to use your time at Te Mata Peak: pause long enough to compare what you saw in town with what you see from above. From up there, Art Deco buildings and orchard blocks stop being separate day stops and start looking like parts of one region.
The drawback is physical comfort rather than difficulty. The hour can feel fast, and you may want shoes that handle uneven ground. If you’re sensitive to stepping around or standing in sun, bring water (the tour includes bottled water, but you might still want extra comfort).

Tukituki River drive and the Hastings shift to orchards and vineyards
From the peak, the day turns toward countryside scenery along the Tukituki River. You get about an hour of driving along the river route, which is where you start seeing Hawke’s Bay as an agricultural engine, not just a coastal destination.
This is also the segment that makes the tour feel less like a checklist. The road gives you long enough to look out at the hills and the river corridor, and it’s timed so you don’t arrive at Hastings feeling totally wiped out.
Finally, you reach Hastings for about 20 minutes. Hastings is highlighted as New Zealand’s best town, awarded for four consecutive years, and the focus here is how the fruit industry works. You drive through orchards and vineyards, learning about the production side of the region rather than spending time at a tasting room.
A quick reality check: 20 minutes in Hastings is not enough for deep exploration. This is more about understanding the area and getting a scenic, informed overview while you still have time to enjoy the view stops earlier in the day.
Guides and group size: small-group feel, mini-bus seating
The tour runs with a maximum of 22 travelers, and that small-group size matters. You’re less likely to get lost in the crowd, and it’s easier for the guide to pause for photos and adjust the pacing when needed.
Your guide can make a big difference, and the names showing up in strong feedback include Mark, Roy, Sukh, and Kirsti. The common thread is that guides lean into storytelling: Art Deco context, the meaning behind rebuilds, and the way honey facts connect to local farming.
That said, consider comfort. Some people have noted feeling tight in the van or finding it smaller than expected, which fits with the setup described as a mini-bus style tour. If you’re tall, broad-shouldered, or sensitive to cramped seating, it’s worth keeping your expectations realistic for a four-hour drive-and-stop day.
The good news: guides can be accommodating in the moments that matter. The best experience tends to happen when you show up ready with clear meeting-point awareness and are flexible about photo timing.
Price and value: what $86.88 buys you in Hawke’s Bay
At $86.88 per person, you’re paying for more than a sightseeing bus ride. You get transport around Napier, two viewpoint experiences (Bluff Hill and Te Mata Peak), a structured city focus on Art Deco, plus an agricultural stop at Arataki Honey Visitor Centre.
Several stops have admission included or are free, which helps the value equation. Napier city time is listed as free, Arataki Honey Visitor Centre is included, Bluff Hill Lookout is included, Te Mata Peak is included, and Tukituki River drive and Hastings are free.
Then there’s the small but meaningful stuff: bottled water is included, and the guide time is built into the whole schedule. In a region where self-guided driving can eat up your time (parking, turnoffs, figuring out where to stand), a pre-planned route is a real benefit.
Where you might not feel the value: if your idea of premium is long winery time or multiple extended stops on foot. This tour is designed for an overview, and it delivers that overview with punchy timing.
Logistics you should handle in advance (so your day doesn’t wobble)
Cruise days can be messy, even when everyone tries. The meeting point is Napier i-site Visitor Information Centre at 100 Marine Parade, Napier South, Napier 4110.
If you’re coming by shuttle from the pier, don’t assume the driver knows your exact tour drop-off point. Some passengers have found that cruise shuttles drop at the i-site area rather than another nearby attraction, so tell the driver where you’re headed and keep an eye out for your tour staff signage. When you do that, you avoid the most common stress point: showing up after the tour has already moved on to Stop 1.
Also, wear a good walking setup for viewpoints. This tour is mostly drive-and-stop, but you still need to stand for photos and handle uneven ground at lookouts.
Finally, remember the tour needs good weather. If conditions are rough, you may be offered a different date or a refund.
Should you book this Napier and Hastings Art Deco shore tour?
Book it if you want a fast, organized introduction to Hawke’s Bay that mixes Art Deco Napier, viewpoint highlights, and a countryside agriculture angle. It’s especially good for cruise passengers and anyone who doesn’t want to spend half the day figuring out where to go.
Skip it if you want lots of time in one place—like deep time in Hastings, winery hopping, or a long architecture walk. This is a four-hour overview, and it does best when you treat it like a guided snapshot of the region.
If you do book, set yourself up for success: arrive with extra attention on where you’ll be dropped, listen for the stop order, and use Te Mata Peak and Bluff Hill for the biggest photo moments. Get that right, and this tour becomes the kind of shore day you actually feel you used well.
FAQ
How long is the Hawke’s Bay, Napier Art Deco Tour?
The tour runs for approximately 4 hours.
What is the price per person?
The price is $86.88 per person.
What stops are included on the tour?
You’ll visit Napier (Art Deco drive), Arataki Honey Visitor Centre, Bluff Hill Lookout, Te Mata Peak, a drive along the Tukituki River, and Hastings.
Is pickup offered?
Yes, pickup is offered.
Where is the meeting point?
The start and end point is Napier i-site Visitor Information Centre, 100 Marine Parade, Napier South, Napier 4110, New Zealand.
How large is the group?
The tour has a maximum of 22 travelers.
Is bottled water included?
Yes, bottled water is included.
Is there a mobile ticket?
Yes, mobile ticket is listed as part of the experience.
Do I need to buy admission tickets for the stops?
Admission is listed as free for Napier and Tukituki River and free for Hastings, while Arataki Honey Visitor Centre, Bluff Hill Lookout, and Te Mata Peak are listed as admission included.
Is the tour dependent on weather?
Yes, the experience requires good weather. If canceled due to poor weather, you’ll be offered a different date or a full refund.
Is it suitable for single travelers?
Most travelers can participate, and the tour requires a minimum of 2 people per tour. Single travelers are asked to enquire.